Free AI T-Shirt Design Generator: Instant Mockups(2026)
Try a free AI t-shirt design generator to create realistic apparel mockups in seconds, with no design skills or studio needed.
Introduction
Designing custom clothes used to
take hours of complex software work. Creators now use a free AI t-shirt
design generator to launch products fast. This tool turns simple ideas into
real-looking garments without hiring a graphic artist.
You can build custom apparel
mockups right from your home office in seconds. This guide walks through
setup, prompts, editing tools, pricing, and common mistakes. By the end, you
will know how to build a full product catalog without a studio, a photographer,
or a single physical sample shirt. AI IMAGE GENERATORS
What
Is an AI T-Shirt Design Generator?
An AI t-shirt design generator
places flat art onto virtual fabric in a realistic way. It maps your artwork
across real shirt creases using smart image models. This tool builds instant
mockup templates for your online store pages. Older workflows relied on heavy
layered files inside desktop programs. New AI tools skip manual warping and
give you camera-like product photography instead. This makes catalog
work much faster for small apparel brands.
|
Production Method |
Setup Time |
Texture Realism |
Software Cost |
|
Photoshop Mockup Files |
Around 20 minutes |
Moderate realism |
Monthly subscription |
|
Automated AI Mockup |
Under a minute |
Very realistic |
Free to start |
|
Physical Studio Shoot |
Two to three days |
Fully authentic |
High budget needed |
From
Text Prompt to Finished Mockup: Step by Step
Start by picking your garment
shape and fabric weight first. You can choose a classic crewneck or a loose,
oversized street tee. Setting this base right keeps your garment mockup
lighting consistent across every shot. Next, upload your own art or generate new
art on the shirt itself. The tool blends your graphic into real fabric folds on
its own. You can nudge, resize, and export clean files for your store in just a
few clicks.
Text
Prompt Entry → Garment Simulation → Fabric Crease Mapping → Final Render Export
Writing Prompts That Actually Work
Strong prompts mix a clear subject
with a clear art style. State plainly if you want a modern vector look or a
vintage screen-print feel. Clear, specific words steer the model away from
flat, generic results.
Getting
Slogan Text Right
Always put headline slogan text
inside quotation marks in your prompt. This small step protects your spelling
and letter shapes. Words like "distressed block letters" also help
build a real, worn-in print look.
Choosing
an Art Style That Sells
Pick one clear style per
collection, such as retro, minimal, or bold graphic. Mixing too many styles in
one run often confuses the model. A steady style also helps buyers recognize
your brand across every new shirt drop.
Realistic
Styles for Real Occasions
Custom apparel fits many events,
from charity walks to company trade shows. Brands often order matching sets to
build team spirit at group events. Ready-to-print templates make it easy to
outfit a family trip or reunion fast. Store owners also use synthetic models to
show shirts in real-feeling settings, like a coffee shop or gym scene. This
kind of scene helps buyers picture the shirt in daily life before they order.
Matching
Fabric to the Season
Pick heavier fabric weights for
cold-weather drops and lighter weights for summer lines. A good tool lets you
preview both fabric types on the same design. This small check stops buyers
from getting a shirt that feels wrong for the season.
Built-In
Editing Tools You Should Know
Print work needs sharp graphics
that stay crisp at large chest-print sizes. Low-quality web images turn jagged
and rough once you scale them up. A strict 300 DPI floor keeps every mockup
print sharp and clean. Most raw AI outputs come with a solid color backdrop by
default. Running background removal pulls out just the clean center
graphic, so the real shirt color still shows through.
●
Keep
files at 300 DPI or higher to stop blur on large prints
●
Remove
all background pixels to protect the true fabric color
●
Check
image edges closely to remove any stray border lines
●
Scale
artwork to match your real shirt's exact print size
Licensing,
Copyright, and Print-Ready Standards
Selling shirts at scale means you
must respect trademark and copyright law. Never place copyrighted characters or
another brand's logo on a shirt you plan to sell. Pick a platform with clear commercial
rights built into its license. Screens glow with bright RGB light that
fabric ink cannot fully copy. Print shops use a CMYK color profile to match
real ink to your file. Good color management keeps your printed shirt close to
your on-screen mockup.
Best
Free AI T-Shirt Tools Compared
Every AI t-shirt design
generator on the market leans into a different strength. Some tools focus
on raw speed, while others focus on clean text and fonts. Testing a few tools
helps you find the best fit for your workflow.
Tools
Built for Speed
Nano Banana focuses on fast
turnaround for quick product preview shots. Canva AI suits creators who want
fast, simple social media mockups. Both work well for daily, high-volume store
updates.
Tools
Built for Clean Text and Fonts
Kittl AI suits designers who need
clean, sharp slogan text and custom fonts. Ideogram handles complex, multi-word
slogan art with fewer spelling mistakes. Pick either tool when your design
leans heavily on bold text.
Pricing:
Free vs. Paid Plans
Most platforms offer a usable free
starting tier. Paid tiers usually unlock higher image limits, faster batches,
and full commercial rights. Always confirm current plan limits on the
tool's own pricing page before you commit. Free plans often cap your daily
mockup count and image resolution, and watermarks may appear until you upgrade.
They still work fine for testing a new design before a bigger print run.
When
to Upgrade to a Paid Plan
Upgrade once you need bulk exports
for a full collection launch. Paid plans also often add cleaner background
removal and higher print resolution. Growing print-on-demand sellers usually
see the paid tier pay for itself fast.
Connecting
Mockups to Your Storefront
A finished mockup means little
until it reaches your real storefront. Most modern tools connect straight into
popular print-on-demand platforms, which saves real setup time. Many
tools offer a direct plugin for stores built on Shopify or Etsy. This link
pushes your finished mockup straight into a new product listing, so you skip
manual uploads.
Keeping
Your Storefront Consistent
Use the same tool for every
listing photo in your store. This habit keeps lighting, angles, and fabric
texture consistent across your full catalog. A consistent look builds more
buyer trust than a mixed set of styles.
Batch
Creating Mockups for a Full Collection
Launching many designs at once
needs a fast, repeatable workflow. Doing each shirt by hand wastes time you
could spend on new designs instead. Lock your model pose, background, and lighting
before you batch a full collection. Swapping only the graphic keeps every
product photo in your store visually matched, which saves major edit time
later.
Saving
Templates for Reuse
Save your favorite setup so you
can reuse it on future drops. This turns a slow, one-off task into a fast,
repeatable habit. Most sellers cut their setup time in half after their first
saved template.
Common
Mistakes and How to Fix Them
A common mistake is printing files
that still have messy digital edges. Hidden, half-clear pixels can create a
cloudy haze during a real heat transfer. Run a clean background removal pass
before you send any file to print. Bad print placement can also ruin an
otherwise strong mockup. New users often scale art too large or place it too
low on the chest. Fixing these two habits solves most early print quality
complaints fast.
●
Check
fine graphic edges and remove any stray, half-clear pixels
●
Place
artwork about four inches below the front neckline seam
●
Match
your file's pixel size to your real heat press plate
●
Convert
your file's color profile to match true print colors
Choosing
the Right Mockup Angle and Pose
A front-facing, chest-level shot
works best for most product pages, since buyers scan it fast. Save angled or
full-body shots for your store's detail gallery, where shoppers already show
real interest. Flat-lay shots also work well for a clean, minimal catalog look.
Pick one main angle style per collection, then add one or two supporting
angles, so your storefront stays visually organized instead of cluttered.
Matching
Model Pose to Your Brand
A relaxed, casual pose suits
streetwear and everyday brands well. A sharper, straighter pose suits formal or
team-branded apparel better. Small pose choices like this shape how buyers read
your brand at a glance.
A
Simple Workflow for Beginners
New users often feel overwhelmed
by the number of settings on offer. Stick to a simple, repeatable routine
instead of tweaking every option on your first few tries. Pick your garment,
add your art, check the fabric fold looks natural, then export. Once this basic
loop feels easy, start experimenting with lighting, backgrounds, and model
poses one at a time.
Building
Confidence Before a Big Launch
Test your full workflow on one
design before you commit to a whole collection. This catches export or sizing
issues early, while the fix still only touches a single shirt, not twelve.
Quick
Start Checklist
Keep this short list nearby for
your first few mockup sessions:
●
Pick
one garment shape and one fabric weight before you start
●
Write
a clear prompt with subject, style, and any slogan text in quotes
●
Export
at 300 DPI or higher for print-ready files
●
Run
a background removal pass before sending anything to print
●
Save
your favorite setup as a reusable template
Note: Tool
names, pricing, and features reflect information available at the time of
writing and change often. Confirm current details on each provider's own site
before you commit.
Frequently asked questions
Can ChatGPT create t-shirt designs?+
Yes, ChatGPT's image tools can create t-shirt graphics from a text prompt. For realistic fabric mockups with creases and folds, a dedicated apparel tool still gives cleaner, print-ready results.
How to use AI to design a t-shirt?+
Pick a garment shape, then write a clear prompt with your subject, art style, and any slogan text in quotes. The tool maps your art onto the fabric, and you export a print-ready file in a few clicks.
What is the best free app to design T-shirts?+
Canva AI works well for fast, simple mockups with no learning curve. For sharper text and fonts, Kittl AI or Ideogram tend to give cleaner results on slogan-heavy designs.
Is there a free AI tool for clothes design?+
Yes, most AI t-shirt design generators offer a usable free tier with basic export limits. Paid plans unlock higher resolution, bulk exports, and full commercial rights.
Which AI is best for t-shirt design?+
Nano Banana and Canva AI lead on speed for quick previews, while Kittl AI and Ideogram lead on clean text and fonts. The best pick depends on whether your design leans more on imagery or slogan text.
Related articles
 AI Image Tools
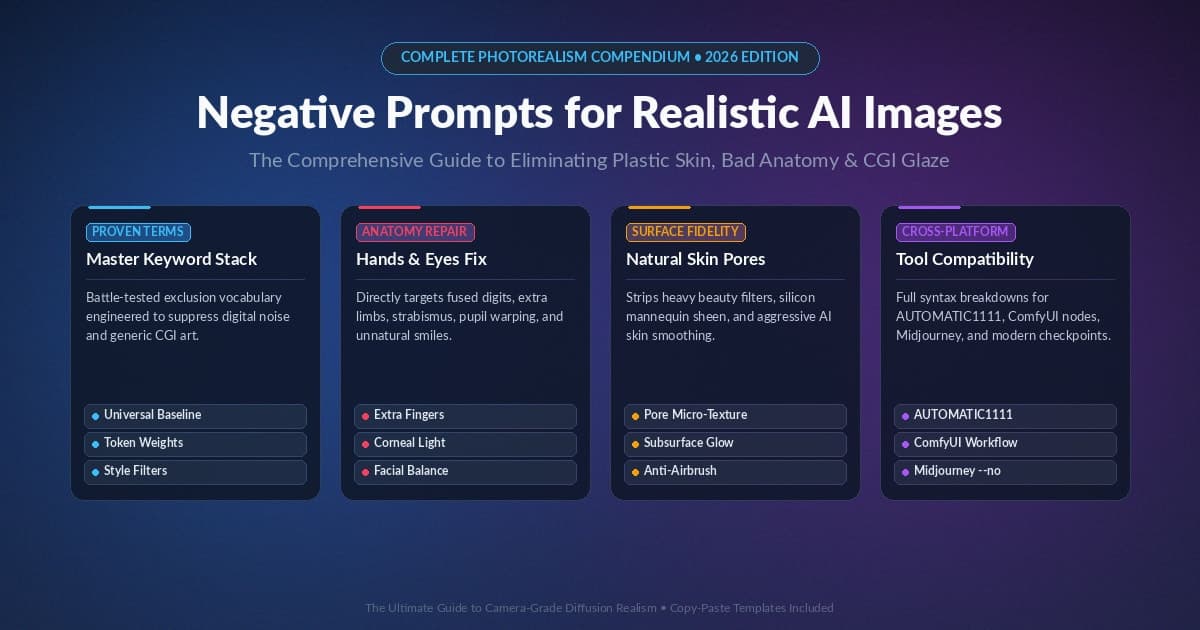
5+ Negative Prompts For Images That Actually Work (2026)
Discover 150+ negative prompts AI images creators use to fix hands, skin, and lighting for real, camera-like photo results.
 AI Image Tools
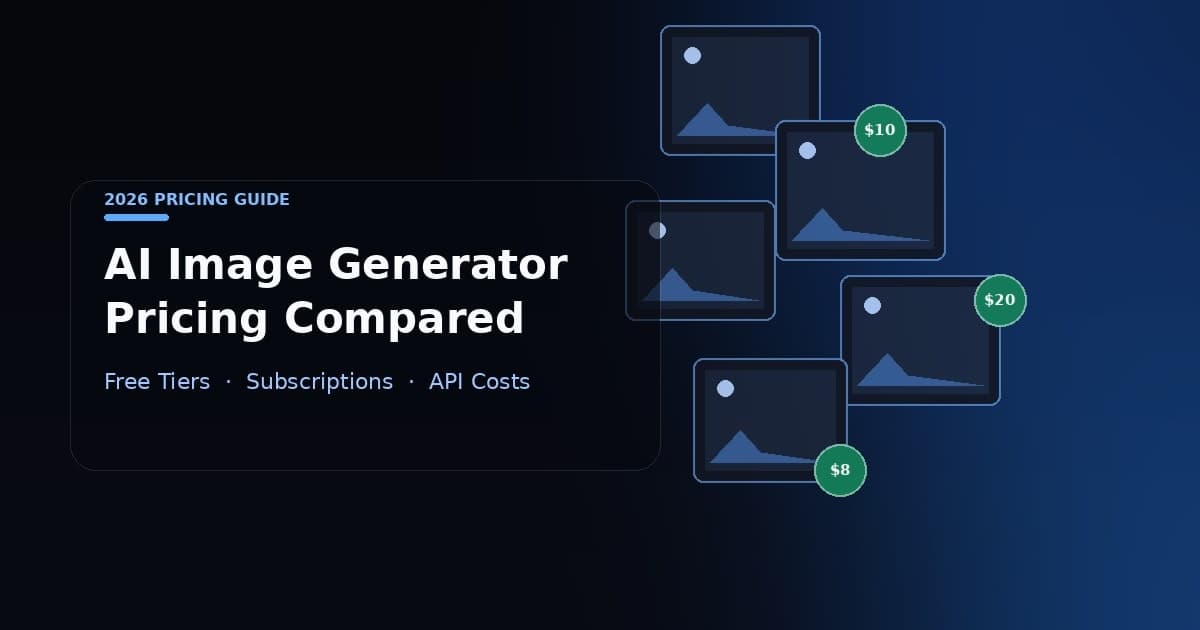
AI Image Generator Pricing (2026): Every Tool Compared
AI image generator pricing compared: real monthly costs, free tiers, hidden fees, and how to cut your bill in 2026.
 AI Image Tools
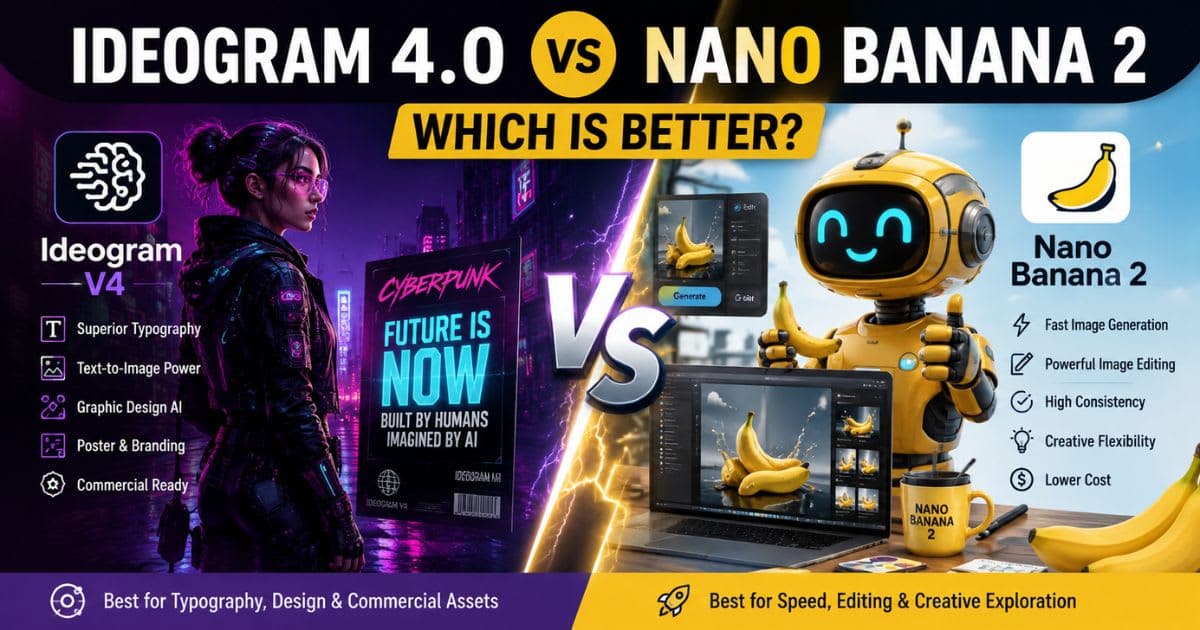
Ideogram V4 vs Nano Banana 2 : Which AI Image Tool Renders Text Better?
Ideogram 4.0 vs Nano Banana 2: Compare text rendering, image quality, editing, pricing, and find the best AI image model.
New AI tool reviews, in your inbox.
Get new reviews and comparisons in your inbox. No spam, unsubscribe anytime.
Comments (0)
Be the first to comment.